
Recipe: Mummy Hand Pies – A Spooky Halloween Treat
Introduction
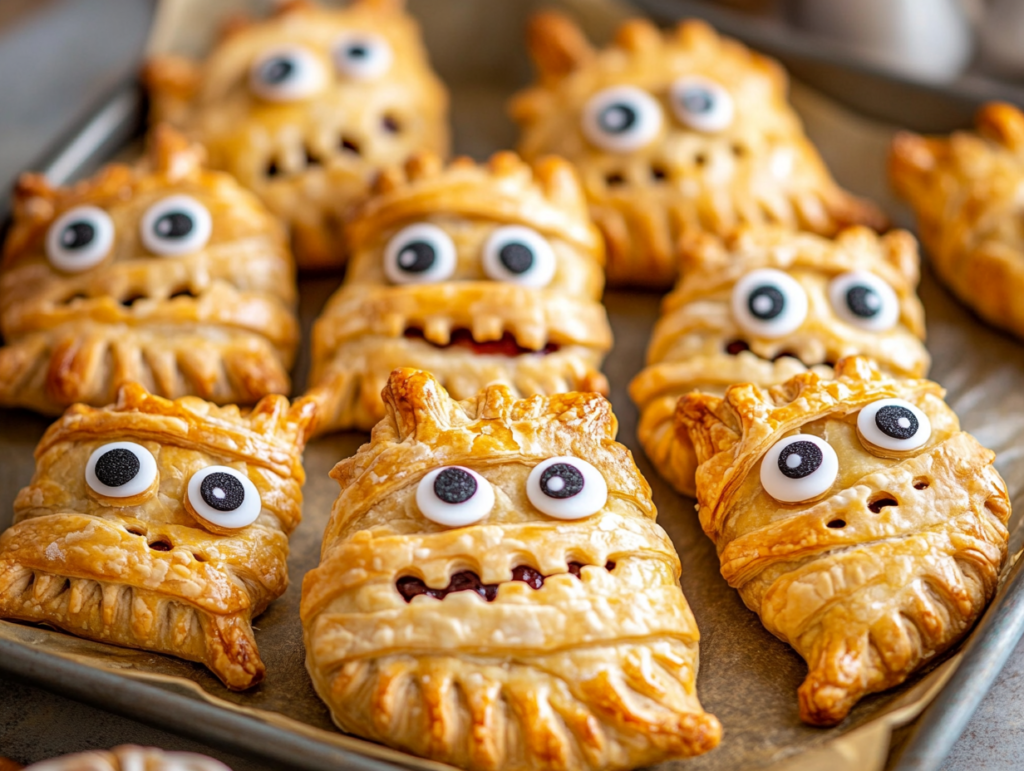
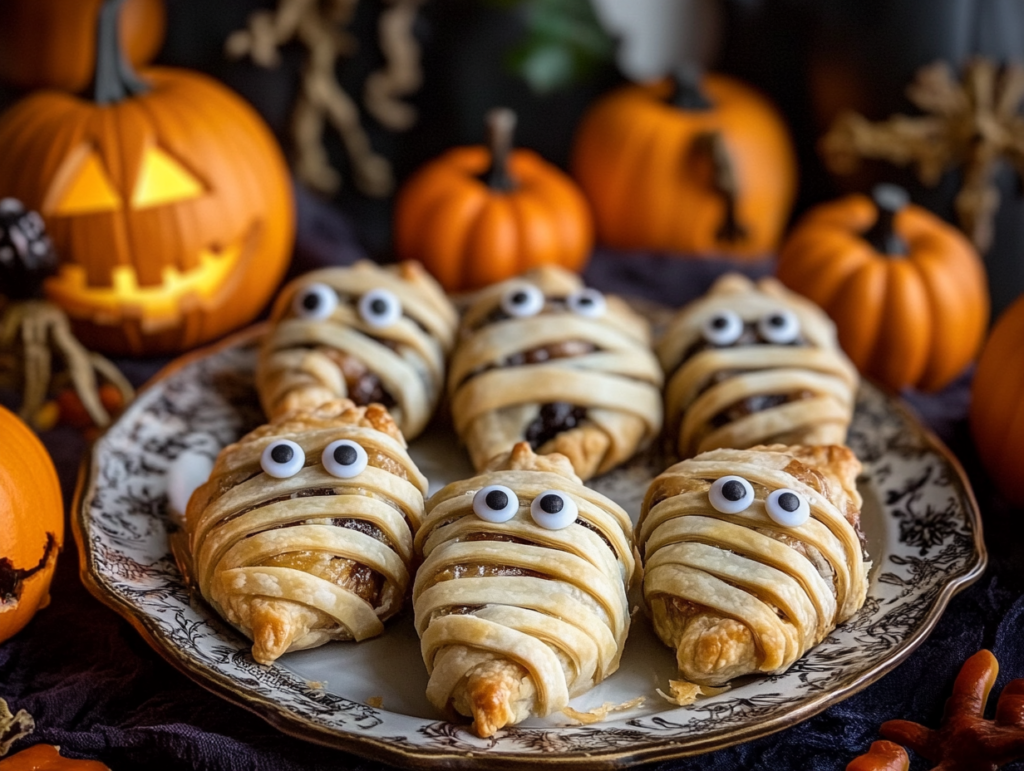
Recipe for Mummy Hand Pies—adorable, hand-held pies perfect for Halloween! These cute and slightly creepy treats are simple to make and even more fun to eat. With flaky pastry filled with sweet or savory fillings, they are decorated to resemble mummies, making them the perfect addition to any Halloween party. Whether you’re making these for kids or as a festive treat for adults, they’ll be a spooky hit. With tips from Elonore Chef IA, let’s make this fun recipe step by step!
Elonore Chef IA’s Tip:
“Make sure to leave a little space between the pastry strips to create the perfect mummy effect. And don’t forget the eyes—they bring the character to life!”
A Brief History of Hand Pies
Hand pies have been a popular treat for centuries, with origins in various cultures where handheld pastries were easy to carry for on-the-go meals. From Cornish pasties in England to empanadas in Latin America, these versatile pastries have taken many forms around the world. In the spirit of Halloween, the Mummy Hand Pie adds a festive, spooky twist to the traditional hand pie, making it perfect for the season. This fun design has become increasingly popular as Halloween treats are designed to be both delicious and Instagram-worthy.
Mummy Hand Pies : Perfect Occasions
These Mummy Hand Pies are perfect for:
- Halloween Parties: Great as appetizers or sweet treats for kids’ and adults’ parties.
- Themed Lunchboxes: Surprise your kids by adding a spooky mummy to their lunchbox during Halloween week.
- Trick-or-Treat Events: Individually wrap these hand pies to give them as special treats for Halloween trick-or-treaters.
- Fall Gatherings: These pies are versatile enough to work at any fall gathering, from potlucks to weekend brunches.
You can customize the filling based on your preference—go sweet with jams or chocolate, or savory with cheese and meats.
Mummy Hand Pies Recipe
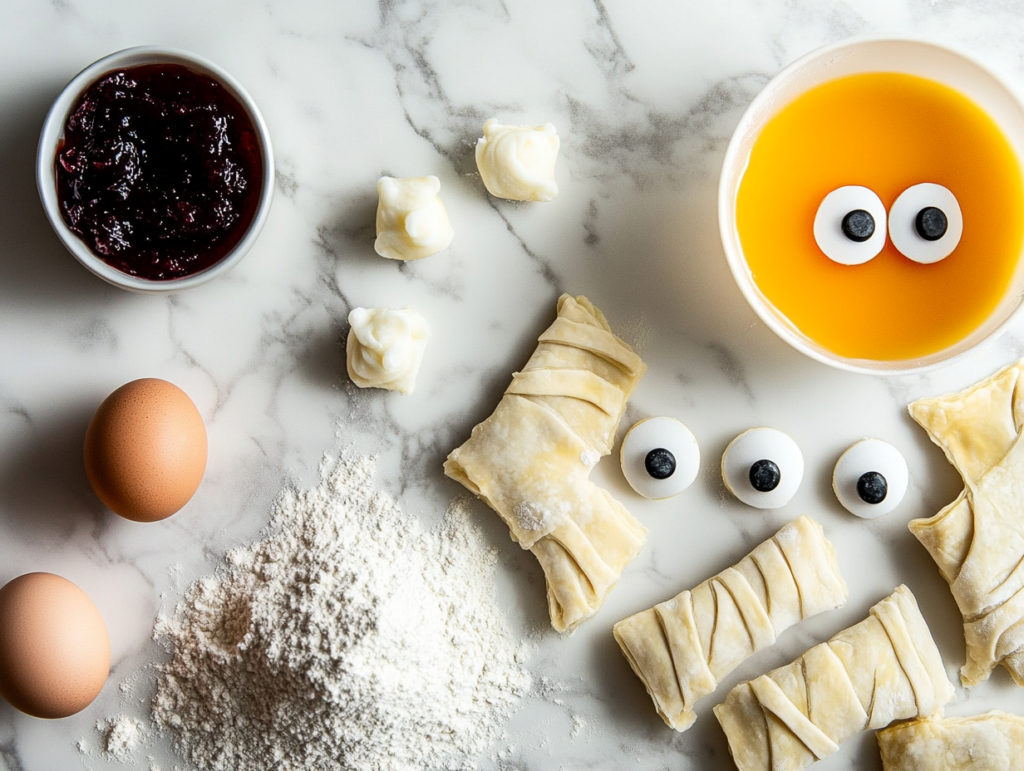
Ingredients:
- 1 package pre-made pie dough (or homemade dough) 🥟
- 1/2 cup jam (strawberry, raspberry, or your favorite flavor) or cheese for savory pies 🧀🍓
- Candy eyes 👀
- 1 egg (for egg wash) 🥚
- 1 tablespoon water 💧
- Flour (for dusting) 🌾
Mummy Hand Pies : Step-by-Step Instructions
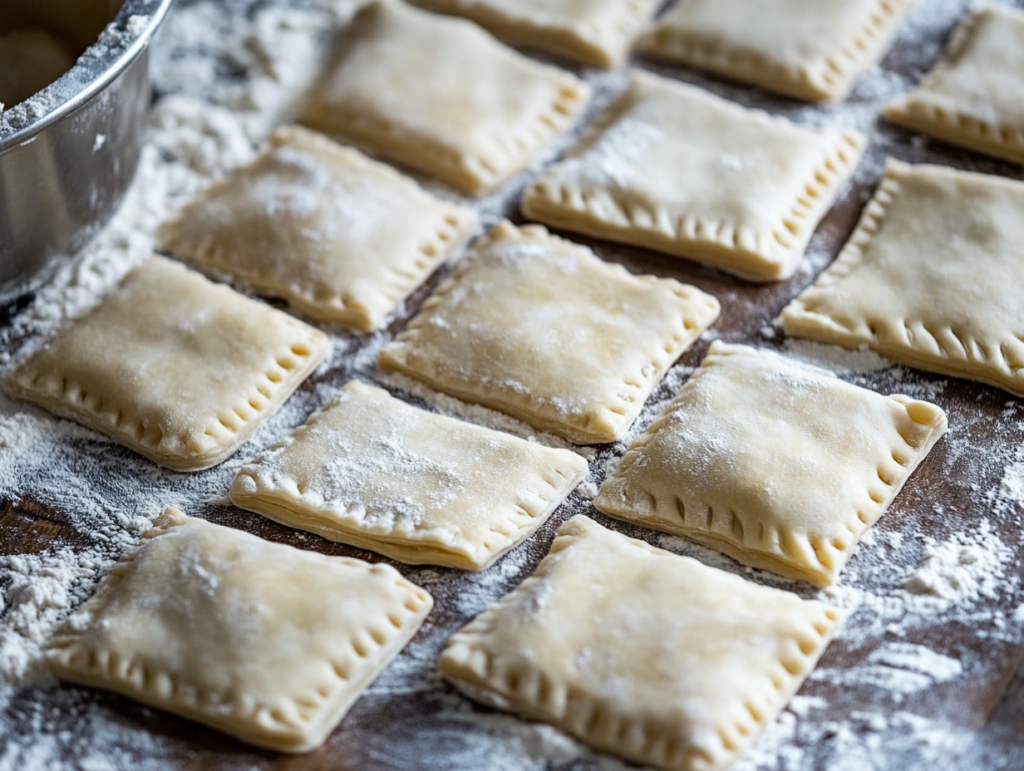
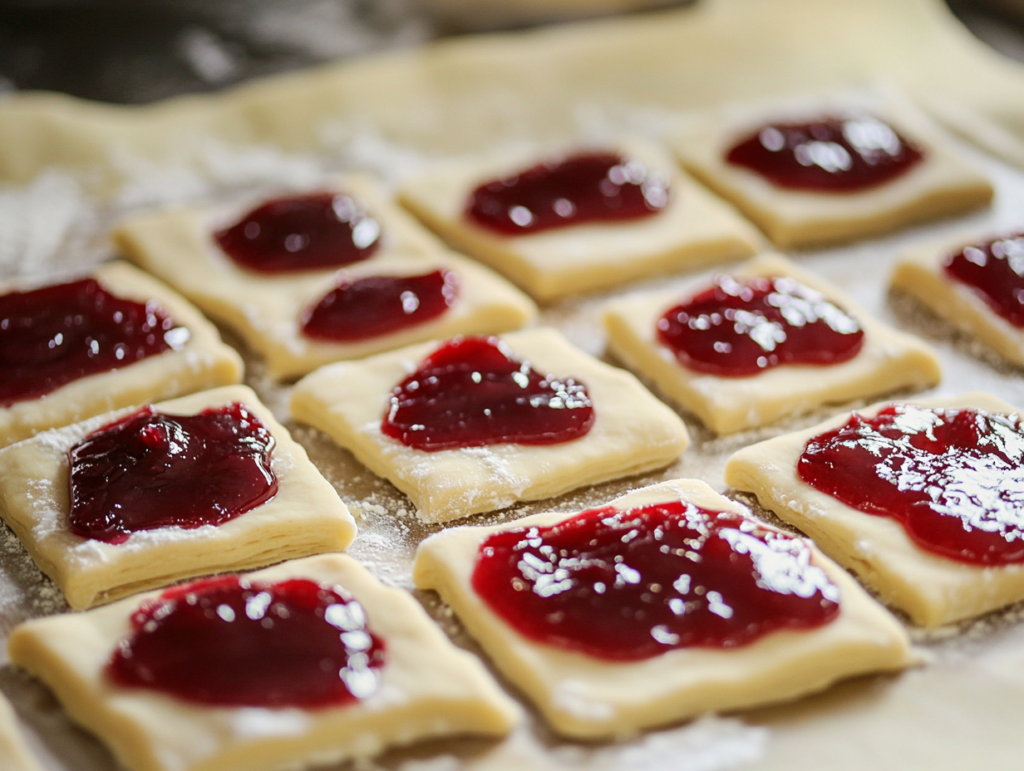
1. Prepare the Dough
Roll out the pre-made pie dough on a lightly floured surface 🌾. Using a knife or cookie cutter, cut the dough into small rectangular or oval shapes. Each mummy will need two pieces of dough: one for the base and one for the strips to wrap around it.
2. Add the Filling
Spoon a small amount of your filling (jam or cheese) 🧀🍓 onto the center of half the cut-out dough pieces. Be careful not to overfill, as the filling may leak out during baking.
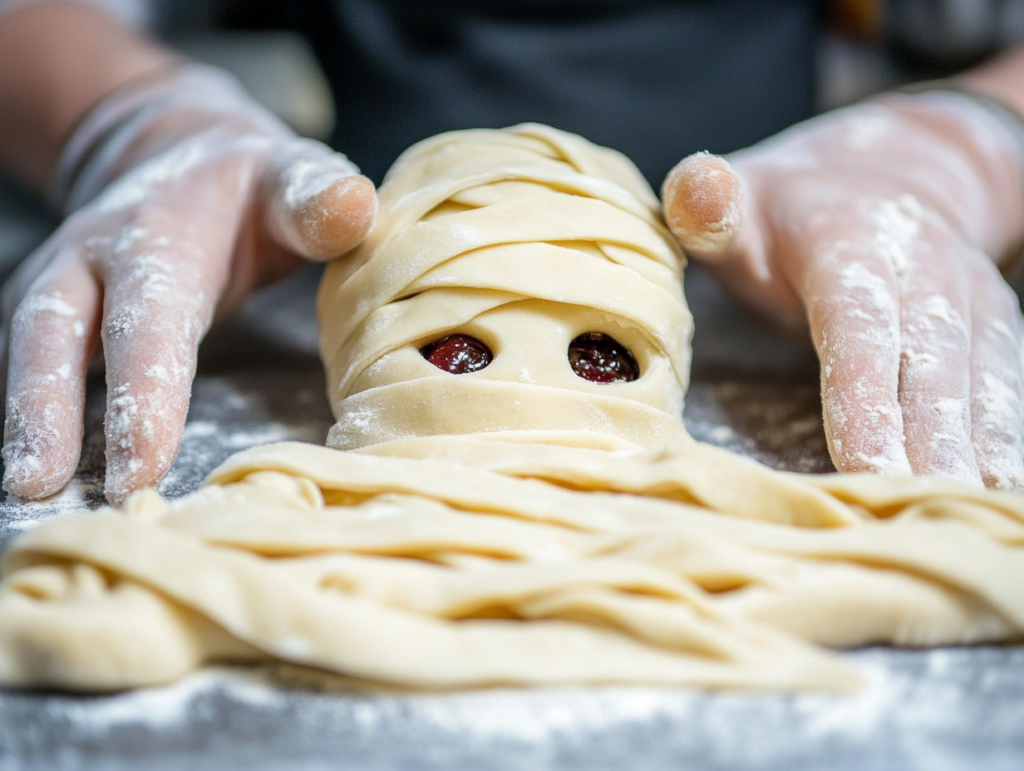
3. Create the Mummy Wraps
Cut thin strips from the other half of the dough pieces and lay them over the filled base to create a mummy wrap effect. Leave small gaps for the eyes to peek through.
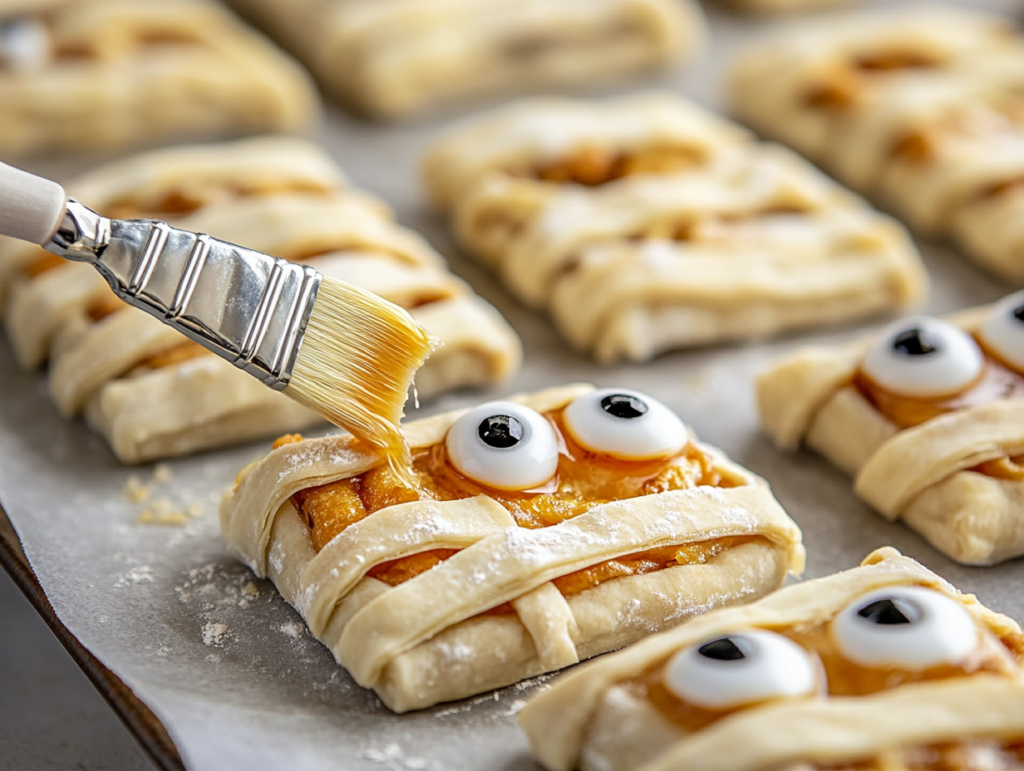
4. Add Eyes and Egg Wash
Gently press two candy eyes 👀 into each mummy pie, peeking out between the strips. In a small bowl, whisk together the egg 🥚 and water 💧 to make an egg wash. Brush the egg wash over the top of the pies to give them a golden-brown finish when baked.
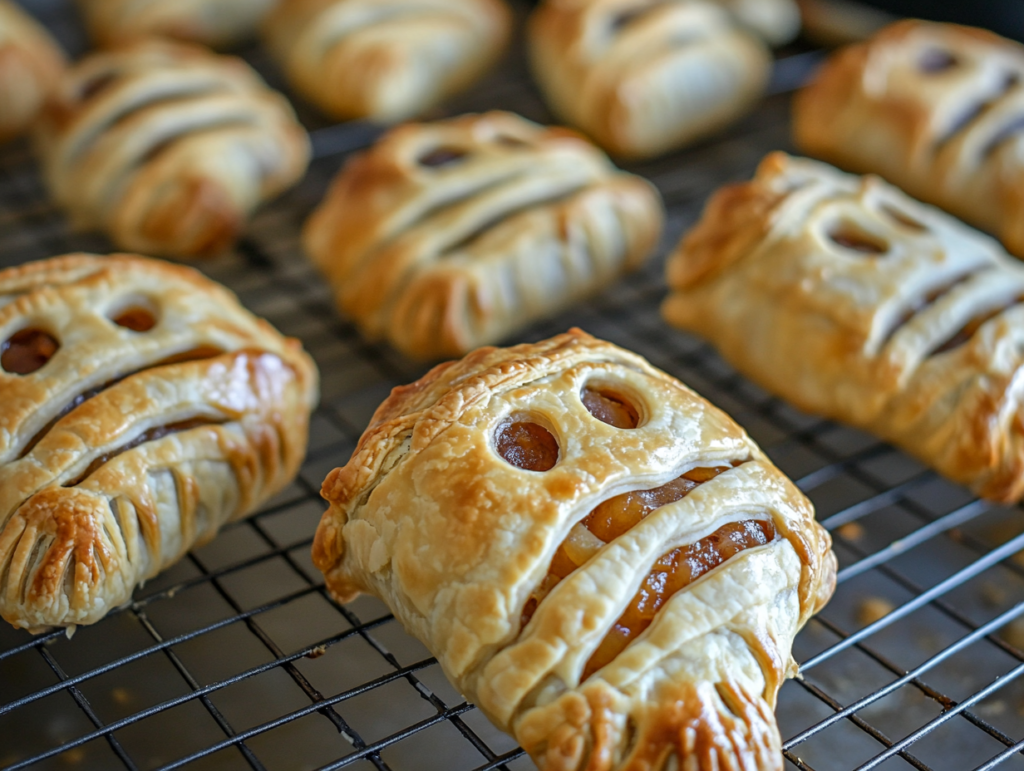
5. Bake the Pies
Preheat the oven to 375°F (190°C). Place the pies on a parchment-lined baking sheet and bake for 15-18 minutes, or until the pies are golden brown and the filling is bubbling. Let them cool slightly before serving.
Mummy Hand Pies : Nutritional Benefits
Mummy Hand Pies can be tailored to your preferences, making them as healthy or indulgent as you like. Opt for a fruit filling made from low-sugar jam for a sweet treat with less added sugar, or use whole-grain dough for added fiber. If you prefer savory pies, choose a filling like cheese or veggies for a hearty, nutritious snack. These pies also serve as a fun way to sneak in extra fruits or veggies for kids!
Essential Kitchen Tools for Cooking
- Rolling Pin: For rolling out the pie dough evenly.
- Sharp Knife or Cookie Cutter: To cut out the dough shapes and strips.
- Pastry Brush: For applying the egg wash to give the pies a golden finish.
- Baking Sheet: To bake the mummy pies evenly.
Health Considerations and Precautions
- Gluten-Free Option: Use gluten-free pie dough to accommodate dietary restrictions.
- Low-Sugar Option: If making sweet pies, choose a sugar-free or low-sugar jam to reduce sugar content.
- Allergy Considerations: Check for any allergens in the candy eyes and fillings if serving to guests with dietary restrictions.
FAQ
1. Can I make Mummy Hand Pies ahead of time?
Yes! You can prepare and assemble the pies up to a day in advance and store them in the fridge. Bake them fresh on the day you plan to serve them.
2. Can I freeze Mummy Hand Pies?
Absolutely. Assemble the pies, then freeze them on a baking sheet. Once frozen, transfer to a zip-top bag and keep them in the freezer for up to a month. Bake directly from frozen, adding a few extra minutes to the baking time.
3. What other fillings can I use?
Feel free to experiment! Try Nutella, peanut butter, or cream cheese for sweet variations. For savory versions, consider using cheese, ham, spinach, or even seasoned ground meat.
These Mummy Hand Pies are a cute, spooky treat that’s perfect for Halloween. Easy to make and fun to eat, they’re sure to be a hit at any Halloween party. Give this recipe a try and don’t forget to tag us with #Recipesify! For more Halloween-inspired snacks, check out our Spooky Pretzel Mummies Recipe.